Custom Forms allow you to add custom fields, drop down menus, and check boxes to work item forms. These additional fields create a section on the work item to track specific details for your organization. Once a custom form is created, it can then be assigned to one or more Work Types.
How to Add a Custom Form
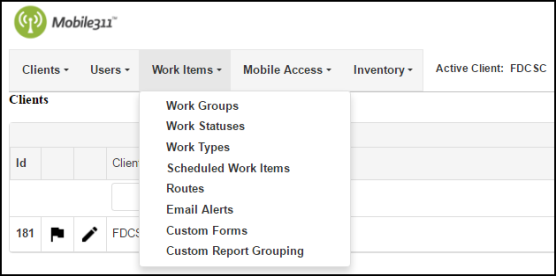
- Hover over the Work Items tab and select Custom Forms.
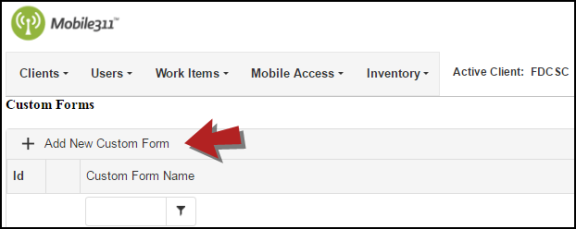
- Click on Add New Custom Form at the top of the Custom Forms list.
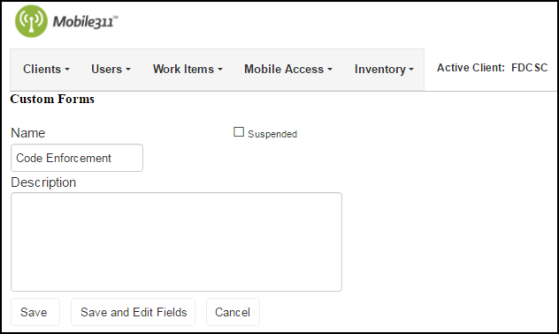
- Enter a Name for the Custom Form. *Note: This is a required field.
- If applicable, you can also enter a Description for the Custom Form.
- Click Save to save the current page or Save and Edit Fields to being adding new fields to the form.
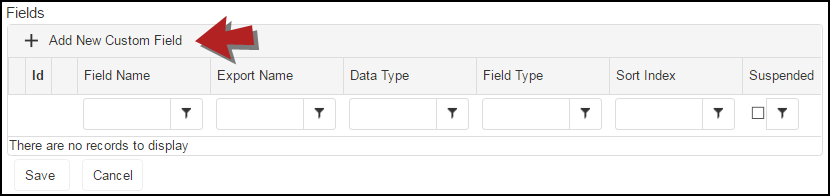
- Click the Add New Custom Field button to begin adding fields. *Note: You will need to create a new custom field for every line you would like included on your custom form.
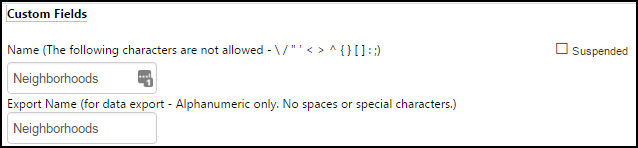
- In the pop up window, enter a Name for the custom field. Custom Field names can only be used one time across all of your Custom Forms. Because of this, it may be beneficial for you to create smaller Custom Forms for fields you may need to use more than once such as Name or Phone Number. *Note: The following characters are not allowed: - \ / " ' < > ^ { } [ ] : ; )
- Next, enter an Export Name. The Export Name will be the name that appears for the field when you export reports. *Note: The Export Name must be Alphanumeric only. No spaces or special characters are allowed.
- After entering the Names, you are ready to choose the type of custom field you want to create. Data Type describes the type of field such as check box, drop down, or text field.
- Control Type allows you to choose more specific options for your Data Types. Depending on the Data Type selected, you will see additional options appear to the right.
- Below are explanations for each Data Type option. *Note: Be sure to click the Save button after each new field you create.
 Boolean
Adds a check box to your work item form. After clicking the Boolean bubble, you will notice that "Checkbox" is automatically selected in the Control Type column.
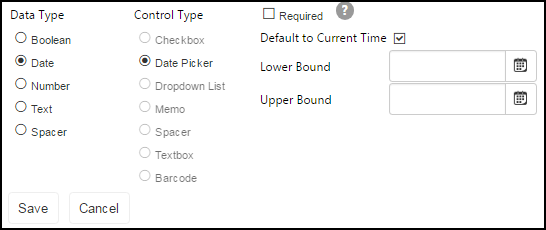
 Date
DateAdds a date field to your work item form. Once Date is selected, you will notice that the "Date Picker" bubble is automatically selected in the Control Type column and you will see additional options to the right. You can choose to have the date field default to the current time by checking the Default to Current Time box. You can also set a date range in the Lower Bound (earliest date) and Upper Bound (latest date) fields. This puts a parameter on the date you are able to enter.
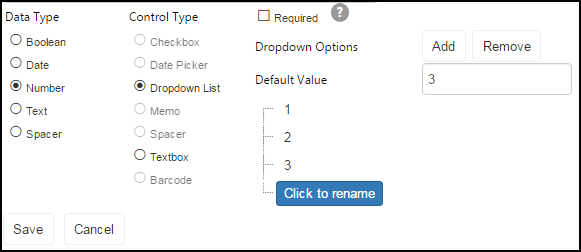
 Number
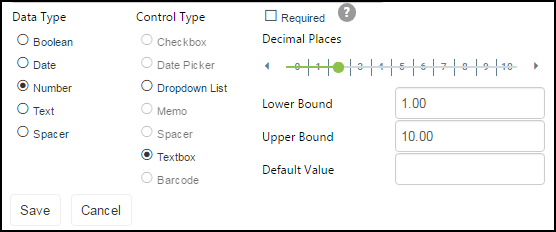
Adds a field to your work item form in which you can only enter a number. There are two Control Types for this option: Dropdown list and Textbox.
- Dropdown List - If you select this option, you will add the list options that will appear in the dropdown list. Enter a value into the Default Value field and click on the Add button. Then click on Click to rename to name that drop down option as it will appear on the list.
- Textbox- This option allows you to add a box in which you can manually enter a number. You are also able to set the allowed decimal places, enter a Lower and Upper limit for the number entered, and set a Default Value. *Note: We do not recommend this option for phone numbers or currency as you are not able to use special characters in the text field.
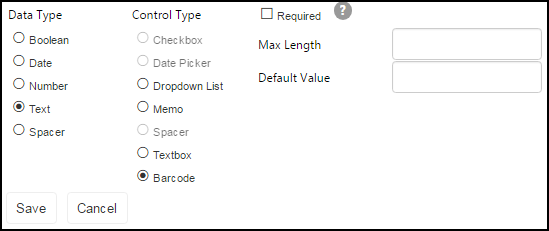
 Text
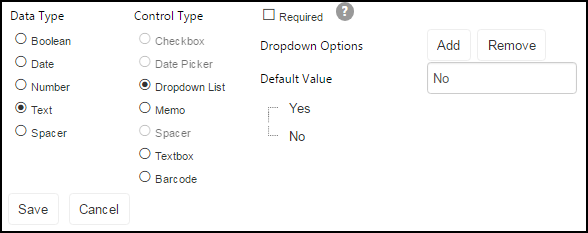
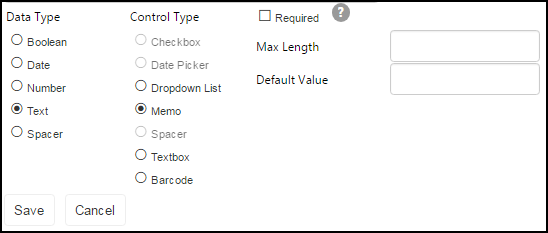
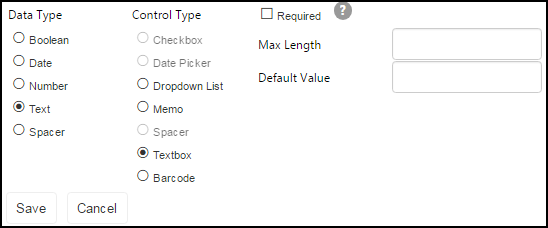
TextAllows you to add a text field to your form. The Control Types available for this option are: Dropdown List, Memo, Textbox, and Barcode.
- Dropdown List - If you select this option, you will add the list options that will appear in the dropdown list. Enter a value into the Default Value field and click on the Add button. Then click on Click to rename to name that drop down option as it will appear on the list. *Note: We recommend naming the first option in the list "Select One" so that users do not mistakenly choose the first option and skew data.
- Memo - allows you to add a large text field to your form. You can set the Max length and a Default Value to the right.
- Textbox - similar to the Memo option but the field is shorter on the custom form. You can set the Max Length and Default Value to the right.
- Barcode - allows you to scan a barcode number into a text field. *Note: If the barcode cannot be read or if your barcode scanner is not functioning properly, you can manually type in the barcode number as this is a free text field.
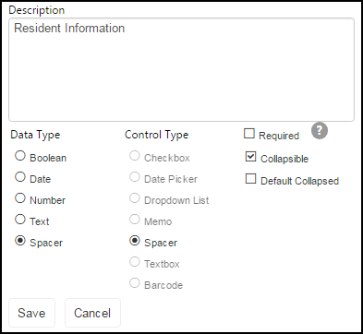
 Spacer
Allows you to create breaks in your custom form to split it into different sections with headings. Spacers can be static or collapsible and the text you enter in the Description field will appear as the heading for that section of the form. *Note: If you create a Spacer that is collapsible, anything below will be under the same heading until another Spacer is created.
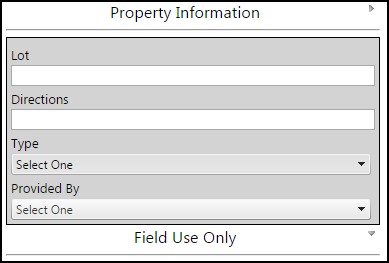
Example of Collapsible Spacer:
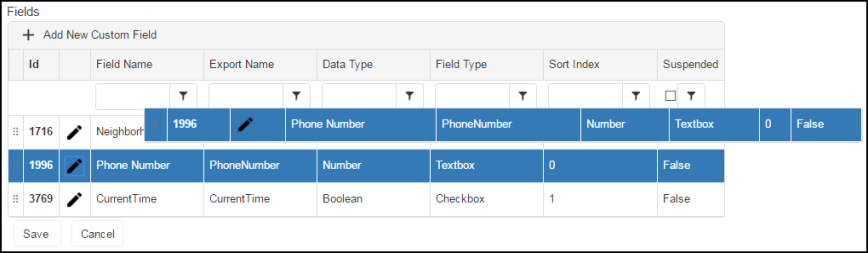
- After creating your custom fields, you can rearrange them from the Custom Forms page. To do this, click on the set of dots next to the ID number of the field you wish to move and drag it up or down in the list.
- Click the Save button when you are finished.
If you want to view your Custom Forms, be sure you have attached it to the appropriate Work Type. Once you do this, navigate to the map and create a Work Item. After you choose the Work Type, you will see the corresponding Custom Form listed on the Work Item form.
Editing a Custom Form
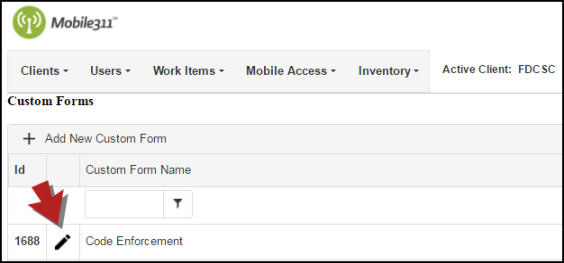
- Hover over the Work Items tab and select Custom Forms.
- Click on the pencil icon (
 ) next to the Custom Form that needs to be edited.
- On the next screen, make any necessary updates and click Save at the bottom of the page when you are finished.
Suspending a Custom Form
If you no longer want to use a Custom Form, you have the option of suspending it so that it no longer appears on the Work Item form and does not show in the Custom Form list.
- Hover over the Work Items tab and select Custom Forms.
- Click the pencil icon next to the Custom Form that needs to be suspended.
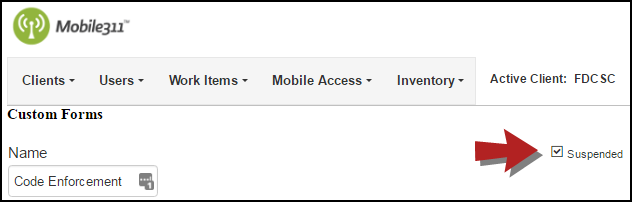
- Check the Suspended box at the top of the page.
- Click the Save button when you are finished.